|
|
This tutorial will show you how to create a low-entry, maintenance-free power supply that generates about 360 EU per second (enough to completely fill up a BatBox in less than two minutes). Aside from the building materials for the initial setup, you will need no additional supplies to run this installation.
Warning: Take note that this tutorial is intended for usage in Survival Singleplayer. If you are playing on a Tekkit (or any other) SMP server, this setup may lead to increased memory usage and consequently serious lag. Should this problem occur, you will then need to temporarily remove the Filter and the Deployer and place them anew.
Required items[]
- 1 Retriever
- 1 Filter
- 1 Deployer
- 10 Pneumatic Tubes
- 9 Water Mills
- Water Buckets
- 3 RedPower Solar Panel
- 3 Blue Alloy Wires
- 4 Red Alloy Wires
- 1 Timer
- Copper Cables
- EU Storage Unit (To send your power to)
- 1 Battery Box
Setup[]
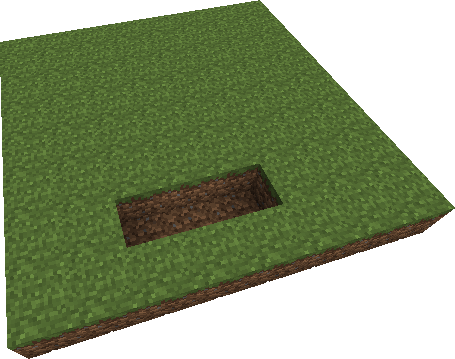
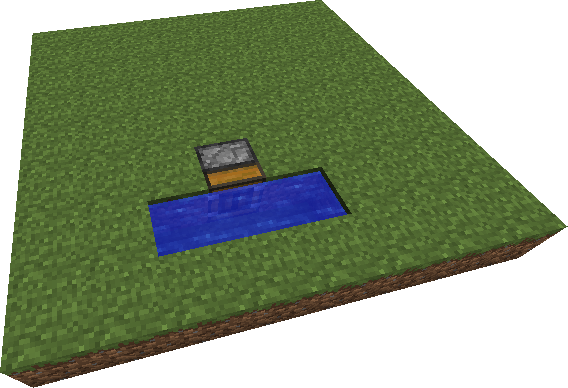
1. Dig a trench three blocks wide.
 |
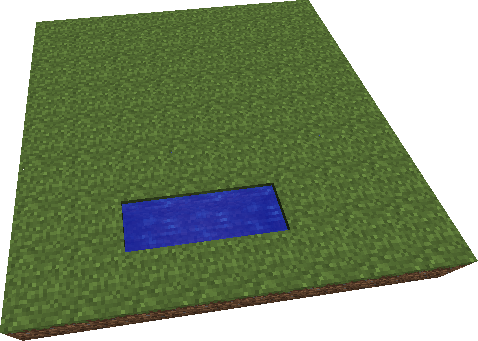
2. Fill the trench with water.
 |
3. Remove one of the middle blocks next to the water.
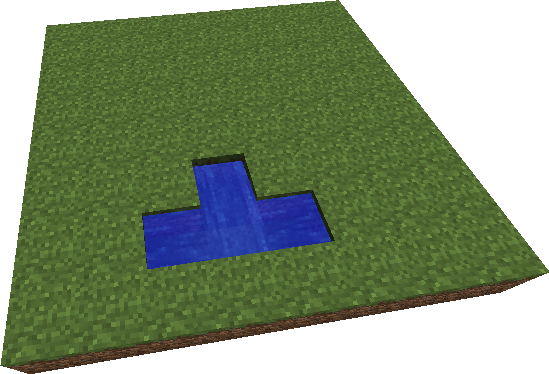 |
4. Place the Deployer in the hole from step 3 and make sure that its front side is facing the water. Use a screwdriver to align the deployer, if necessary.
 |
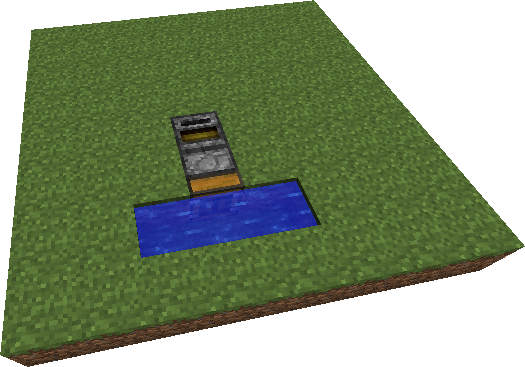
5. Remove the block behind the deployer and place a Filter in it. Make sure that the front side of the filter is facing the deployer. Use a screwdriver to align the filter, if necessary.
 |
6. Dig a 4 x 3 trench with the filter being in one corner.
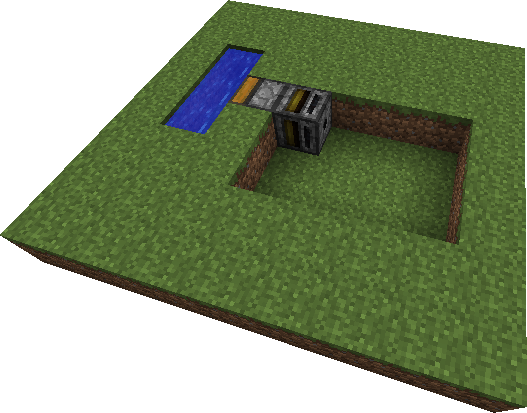 |
7. Place the Retriever with its front side facing away from the water.
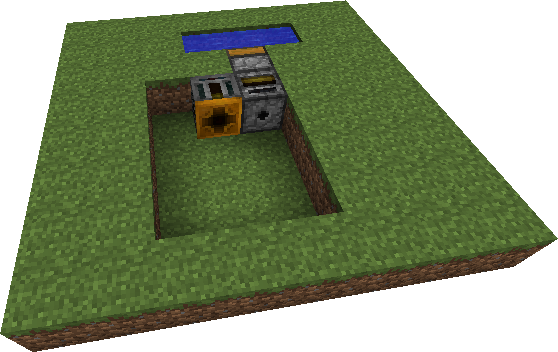 |
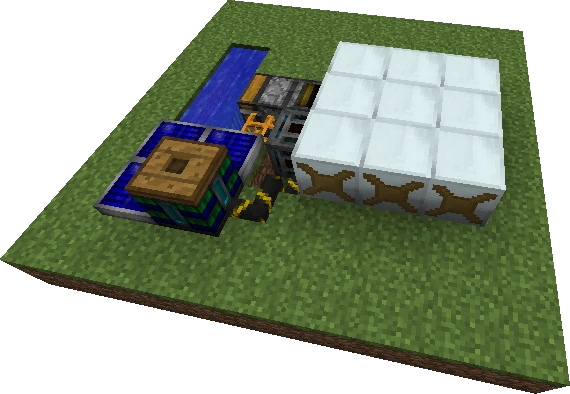
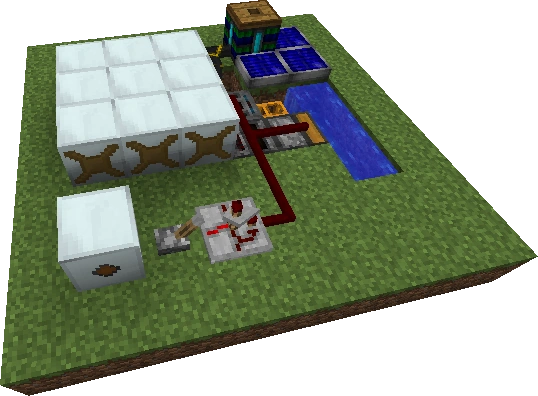
8. Remove the block bordering the deployer and the retriever and place a Pneumatic Tube in it. Place nine additional pneumatic tubes as shown in the picture below.
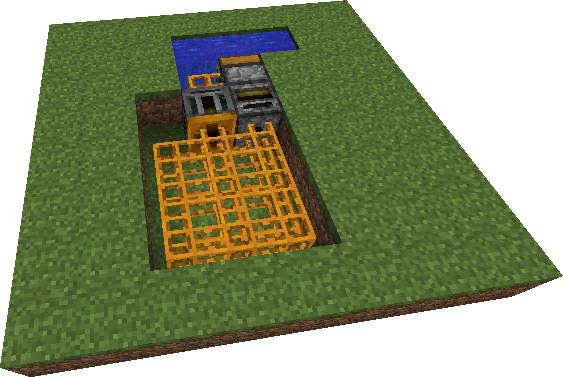 |
9. Place a Battery Box as shown in the picture below.
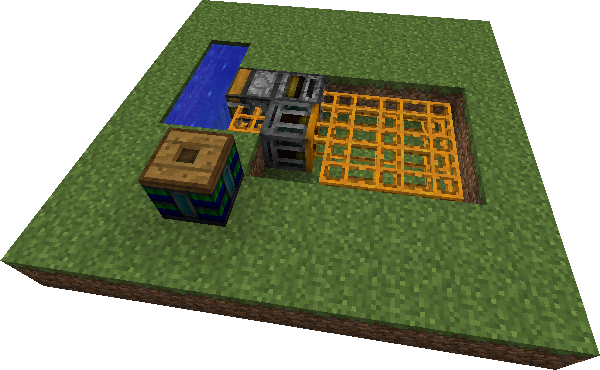 |
10. Connect the battery box to the retriever with a Blue Alloy Wire.
 |
11. Place a Solar Panel next to the battery box. Note: Only one solar panel is needed for this set-up, even though the picture shows three.
 |
12. Rightclick the deployer and place nine buckets in its inventory.
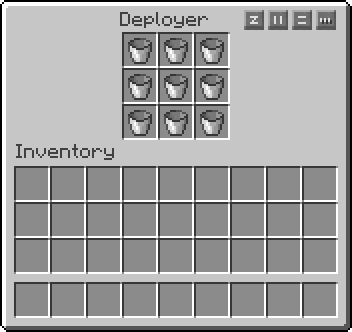
|
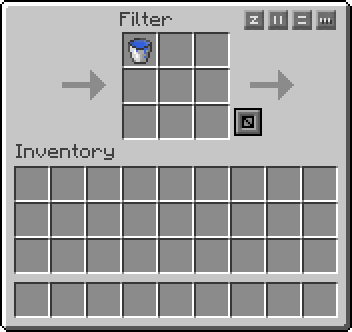
13. Rightclick the filter and place one water bucket in the top left field of its inventory.
|
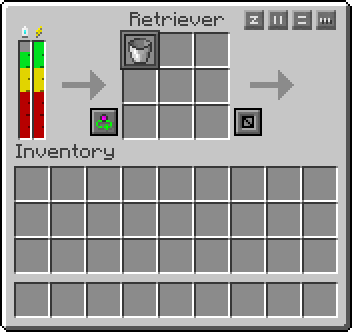
14. Rightclick the retriever and place one (empty!) bucket in the top left field of its inventory.
|
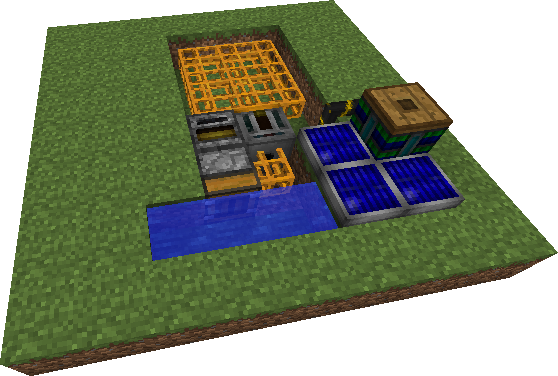
15. Place nine Water Mills over the pneumatic tubes.
 |
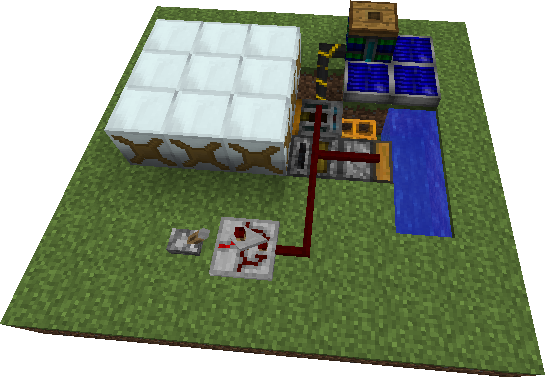
16. Place Red Alloy Wire over the retriever, the deployer and filter (you can put the wire on top of the machines if you press Shift and rightclick) and connect it to a Timer. Add a lever on the other side if you want to be able to switch the setup off.
 |
17. Rightclick the timer and set the interval to 1,000s.

|
18. Place a MFE Unit to save up the power generated by the water mills.
 |
19. Use Copper Cables Tin Cable or Glass Fibre Cable to connect the MFE unit and all water mills.
 |
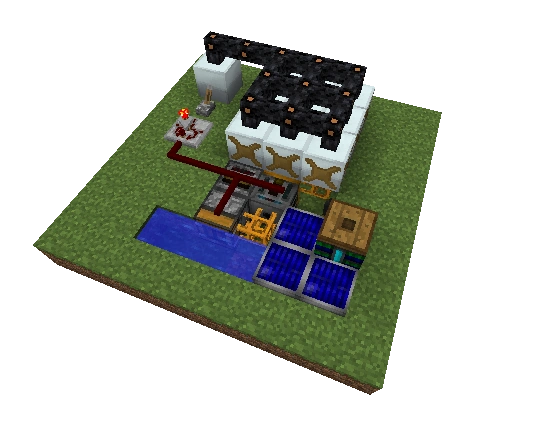
That's it, you're done! This setup will generate about 18 EU per tick, which adds up to 360 EU per second, and 21,600 EU per minute.
How it works[]
Water Mills constantly generate 2 EU/tick if they are filled with water, which is consumed while the water mills generate energy. The Deployer fills buckets with water. Because of the water-regenerating mechanisms of Minecraft, the water trench quickly refills itself. The water buckets are then drawn out by the Filter and delivered into empty water mills that are connected by Pneumatic Tubes to the Filter and the Retriever. Once the buckets are empty, they are requested by the Retriever and put back into the Deployer, where the cycle starts anew.
Expanding the setup[]
The setup can be expanded to include 12 or even 15 water mills. In order to do so, you will have to place additional pneumatic tubes, with the additional water mills on top of them. You will also have to place additional buckets in the deployer, and in order for the system to cope with the heightened supply requirements, you need to set the timer to a shorter interval. For the 12-mill-setup, an interval of 0,700s should suffice, while a 15-mill-setup will probably require an interval of about 0,500s.